2. Grab the Text tool (shortcut T) and write whatever you want. (note : this will look better with a bold font)I chose Impact with Font size 100pt, and letter spacing at -25.if you don't know how to get letter spacing, go to Window > Character. find the box with AV beside it (like the one
at the bottom) this is what i have so far.
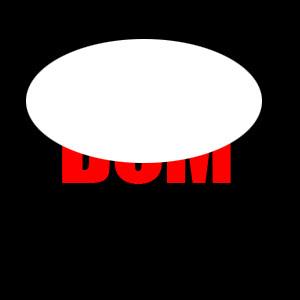
3. Grab the Elliptical Marquee tool, and make a circle like this on a new layer. Call this layer Circle.

4. Hold in CTRL and click on the text icon on your text layer.with the Cirlce layer selected, press Select > Inverse, then Ctrl + X.This will have deleted the parts that you don't need.Your Graphic should look like this.

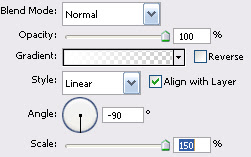
5.With the layer 'circle' selected, put the Fill down to 0%You will find the fill box in the layer window, below Opacity.double click on the layer to bring up blending options, and click on gradient overlay.set the gradient from white to transparent, the direction to -90, and the scale to 150, like so.

6. This step is optional Double click on the text layer again to bring up blending options. click on stroke and choose a dark red (or a darker colour of what your text is) and set the size to 2.
7. Duplicate your text layer by pressing CTRL + J, and flip it vertical (Edit > transform > Flip vertical) and move the layer down so it's a couple of pixels away from your original text layer.create a new layer and make a rectangular selection (by using the rectangular marquee tool)set your foreground colour to black, and draw a gradient from the bottom of the selection, to over the top of the selection.Click back on the duplicated text layer, and set the opacity to 70%this is what you should have now

