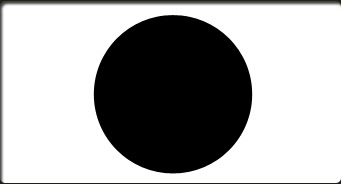
Realistic Coin To begin, draw out a circle while holding the "Shift" key to make it perfectly round as I have done below.
Now that you have your circle drawn, you can now right click on the circle layer and select, "Blending Options...". Now click on "Color Overlay ".
Do not click OK yet... still more to do

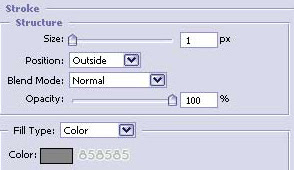
Now click on "Stroke".
You may now click "OK."
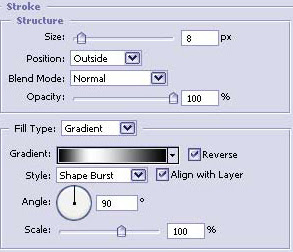
You should now have the following:
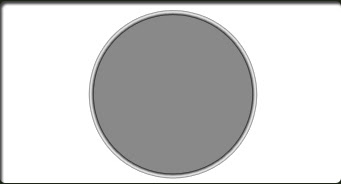
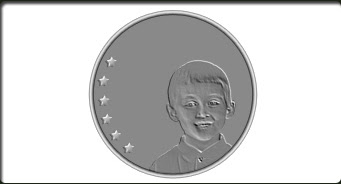
Now grab an image that you wish to use for the coin. Place it where you think it looks good and while holding the "Ctrl" key ("Cmd" on Mac) click on the circle layer to get a selection. Now inverse the selection by hitting "Shift" + "Ctrl" + "I" on Windows or "Shift" + "Cmd" + "I" on Mac. Make sure you are on the image layer and hit delete then "Ctrl" + "D" or "Cmd" + "D" to deselect the selection. You should now have the following. I left the faded image for demonstration purposes.
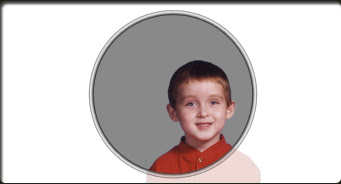
Now for the fun part. Go to the main menu and click "Filter" then "Stylize" then "Emboss." Settings are the following: "Angle"= 41 "Height"= 2 "Amount"= 138. Your settings may need to be slightly different depending on the quality of your photo/image.
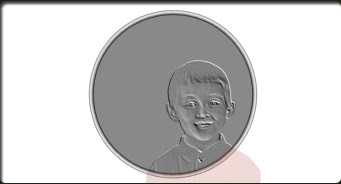
Grab the "Custom Shape Tool" and click on the star shape. Draw it where you want it.
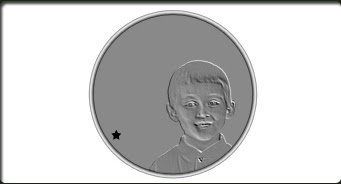
Now that you have your star, you can now right click on the star layer and select, "Blending Options...". Now click on "Drop Shadow".
Do not click OK yet... still more to do
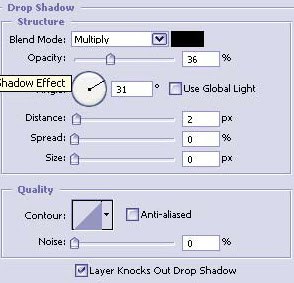
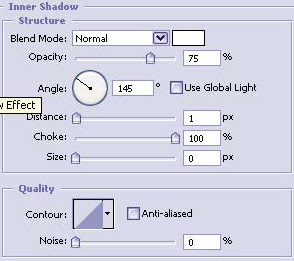
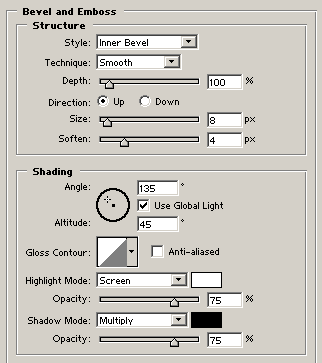
Now click on "Inner Shadow".
Do not click OK yet... still more to do
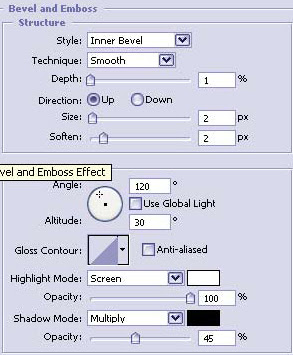
Do not click OK yet... still more to do
Do not click OK yet... still more to do
You may now click "OK."
You should now have the following:
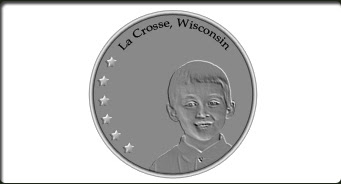
Now lets create some text. Use the same style as you used on the stars. To curve the text simply double click the text layer in the Layers Pallete to select it, then click the button in the options pallete. Then click "Arc" for the style and +55 for the Bend.
 button in the options pallete. Then click "Arc" for the style and +55 for the Bend.
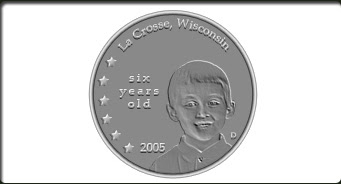
The Results!!!
Other effects that can be added are: "Lighting Effects" "Noise" and some sparkles here and there.
