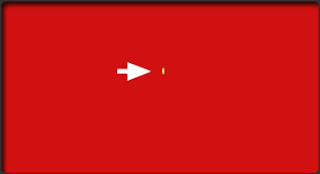
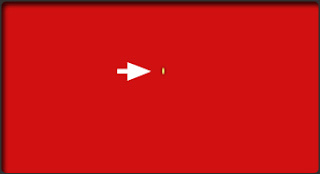
We'll begin this tutorial, by creating a new canvas 100 x 100 pixels, then change the foreground to D01111 and fill the background. Then change the foreground again to F2EA70 and choose the "Elipse Tool." Draw a similar shape to the one that I have drawn below, which will be the seed.

Now that you have your seed, you can now right click on the seed layer and select, "Blending
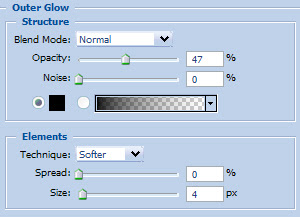
Options...". Now click on "Outer Glow". use settings at left You may now click OK.

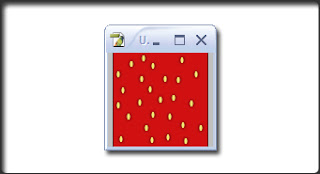
You should now have the following:

Now duplicate the seed layer until you have something similar to the following. Tip: Use the "ALT" key to duplicate. Once you are satisfied with the look, go to the main menu and select "Edit" then "Define Pattern" Give it it a name and go to step 5.

Now create a new canvas 350 x 180, then go ahead and choose the text tool. I chose "Joan" as the typeface at a size of 104. Now type your text and move on to step 6.

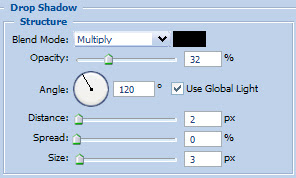
Now that you have your text, you can now right click on the text layer and select, "Blending Options...". Now click on "Drop Shadow".
Do not click OK yet... still more to do

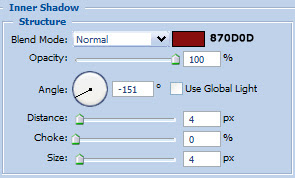
Now click on "Inner Shadow ".
Do not click OK yet... still more to do

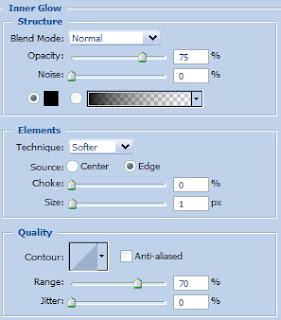
Now click on "Inner Glow".
Do not click OK yet... still more to do

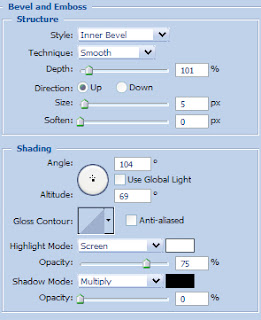
Now click on "Bevel and Emboss".
Do not click OK yet... still more to do

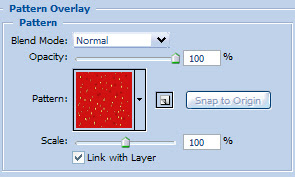
Now click on "Pattern Overlay".
You may now click OK.

The Results!!!
As you can see, I topped it off with some leaves and stem to boot. Have fun with it.
